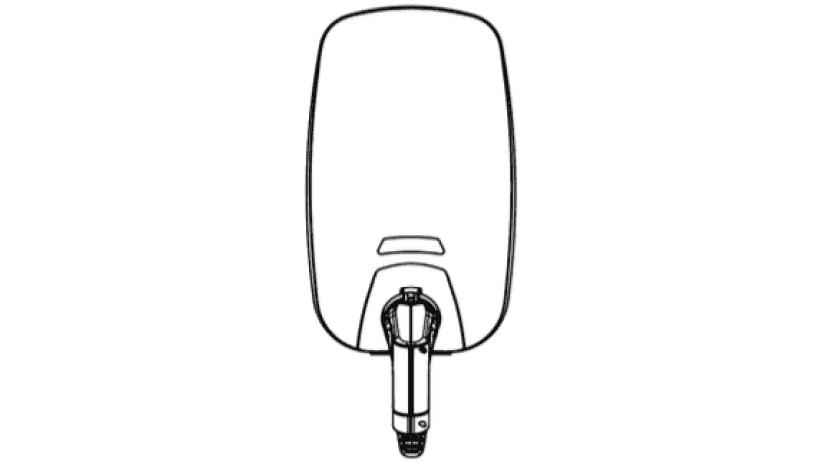
- Check the electrical system to ensure the power supply has been disconnected for safety during installation.
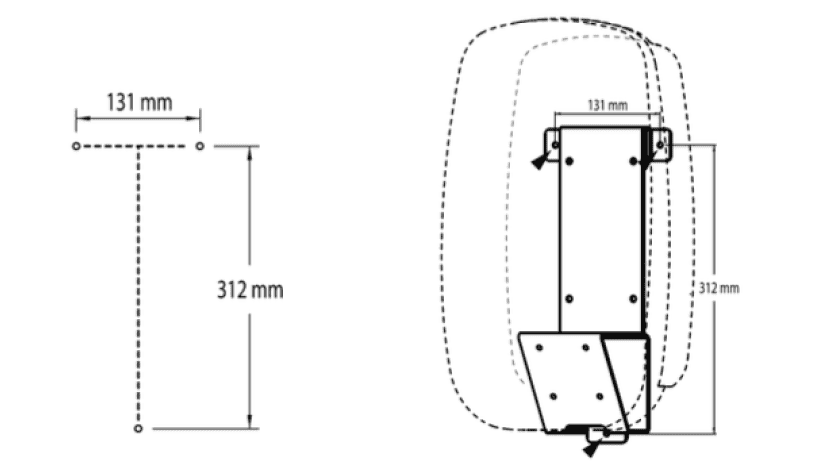
- Determine the installation points by placing the mounting plate on the surface where the installation will take place.
- Verify that the installation points are level and at the appropriate height for proper use.
- Mark the points to be drilled and drill holes according to the positions of the holes on the mounting plate (3 points in total).
- Note: The position and distance of the holes for fixing in the image are only preliminary. The installer must measure and adjust the positions for drilling based on the actual mounting plate during installation.
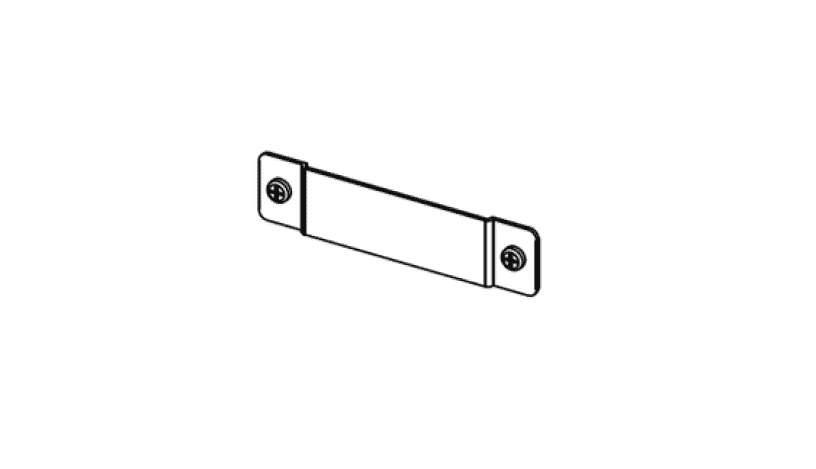
Install the mounting brackets for the charger into the two upper mounting holes.
Route the electrical wires through the cable entry point and cable gland located at the lower-left position of the charger. Secure the cable gland by tightening it. For installation, it is recommended to use a 2C+PE 10 sq.mm electrical cable. Note: The installer must calculate and select the appropriate cable size based on the distance and the voltage drop calculation according to electrical installation standards.
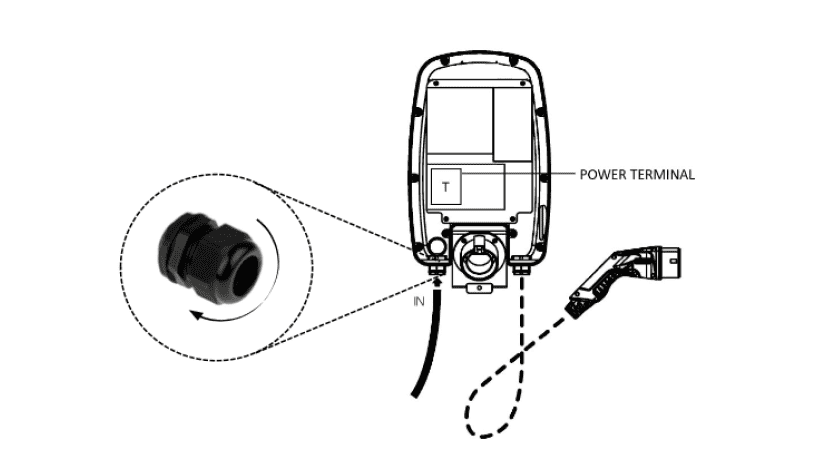
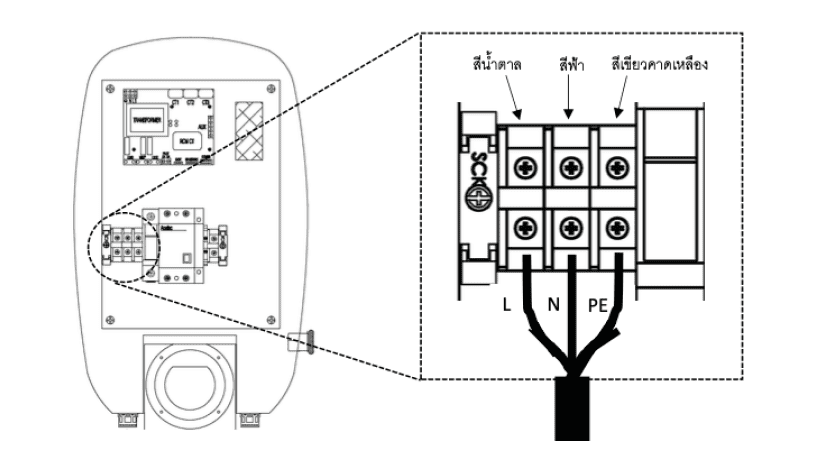
Connect the L, N, and PE electrical wires to the brown, blue, and green/yellow terminals, respectively. Verify the correctness of the electrical wire connections (L-N-PE).
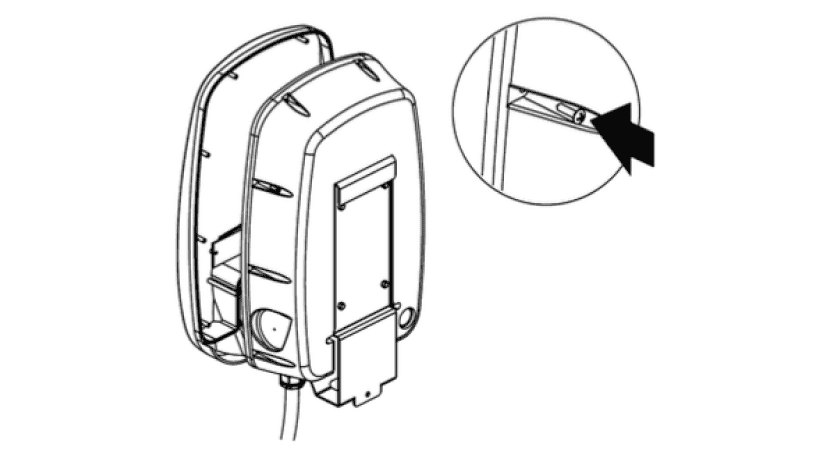
Connect the LED status wire between the front cover and the internal wiring of the charger.
Attach the front cover to the charger body and tighten all 10 screws to secure the front cover to the machine
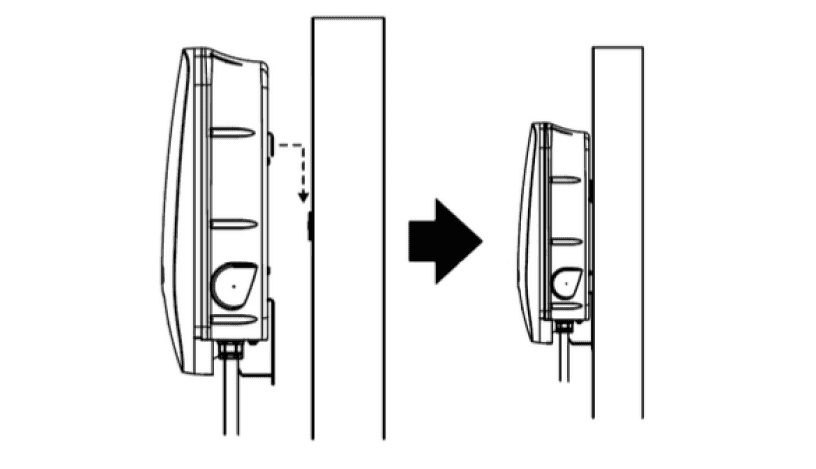
Hang the charger onto the mounting bracket that has been installed
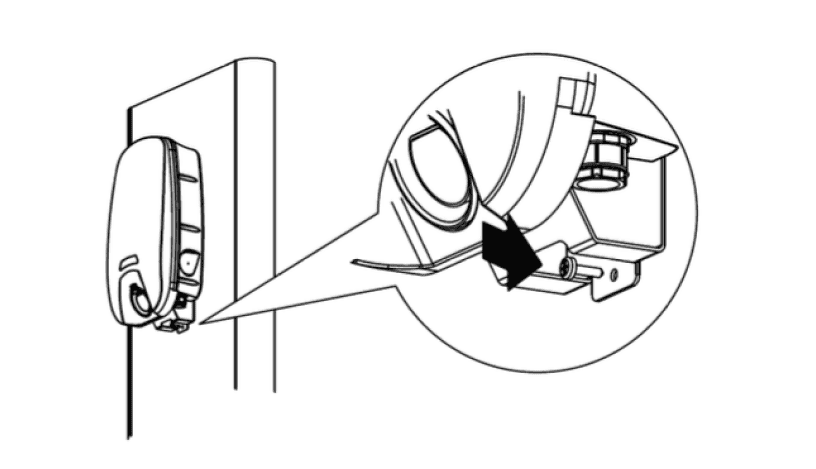
Tighten the screws at the bottom of the charger to secure the machine to the installation point
Insert the charging head into the charging port. Check the emergency stop button; if it has been pressed, release it by rotating. Then, supply power to the machine from the electrical system. Once the power is supplied to the machine, the status light on the front of the machine will indicate power
